Blender’s built-in Python API allows you to automate tasks, create custom tools, and enhance your 3D workflow. Whether you want to generate objects, modify scenes, or build add-ons, Python scripting makes it anything possible. This tutorial will guide you through setting up Python in Blender, writing basic scripts, and exploring the API to streamline your projects.
1. Getting Started
Prerequisites
- Blender Installation: Download and install the latest version of Blender from Blender.org.
- Basic Python Knowledge: Familiarity with Python syntax and programming concepts will be helpful.
- Blender’s Scripting Layout: Blender comes with a built-in text editor and Python console, making it easy to write and run scripts.
2. Accessing the Python Environment in Blender
Using the Python Console
- Open Blender.
- Switch to the Scripting workspace (located at the top of the Blender window).
- You will see the Python Console where you can type commands directly.
For example, type:
print("Hello, Blender!")Press Enter to execute the command.
Using the Text Editor
- In the Scripting workspace, open the Text Editor.
- Create a new text file by clicking on New.
- Write your Python script in the editor.
- Click Run Script (or press Alt+P) to execute your code.
3. Writing Your First Script
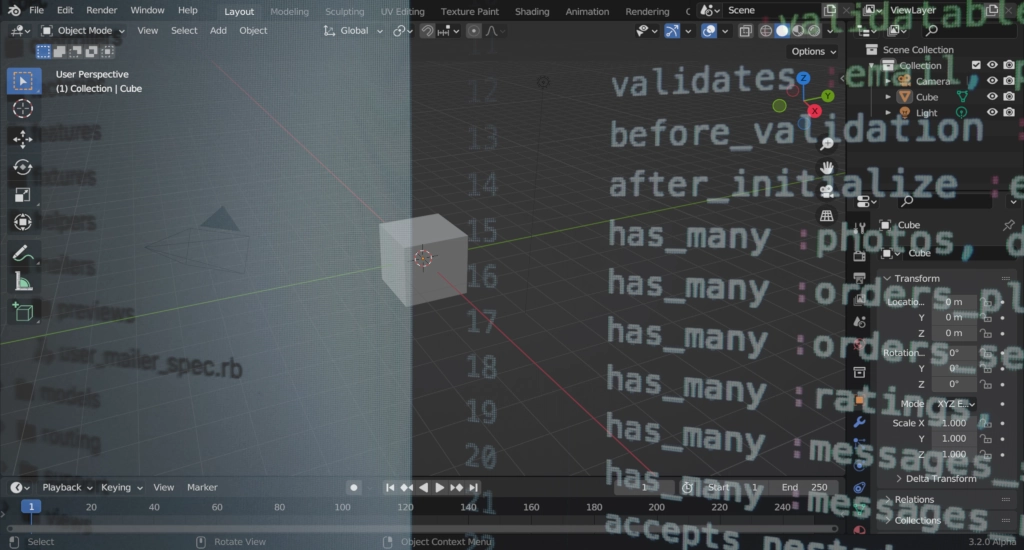
Let’s create a simple script that adds a cube to your scene.
- Open the Text Editor in Blender’s Scripting workspace.
- Enter the following code:
import bpy # Remove all existing objects bpy.ops.object.select_all(action='SELECT') bpy.ops.object.delete(use_global=False) # Add a new cube at the origin bpy.ops.mesh.primitive_cube_add(size=2, location=(0, 0, 0)) - Click Run Script to execute the code. You should see a cube appear in the scene.
4. Exploring the Blender Python API
Blender’s API is extensive and allows you to interact with almost every part of the software. Here are some key points:
API Documentation
- Official Documentation: The Blender Python API documentation is the primary resource for understanding available classes, methods, and properties. Visit Blender Python API Documentation for more details.
Common Tasks
- Creating Objects: You can create meshes, lights, cameras, etc.
- Modifying Properties: Change object attributes like location, rotation, and scale.
- Animating: Set keyframes and control animations using Python.
- Custom Tools: Develop add-ons or custom tools to extend Blender’s functionality.
For instance, to move an object, you might use:
import bpy

# Assuming an object named "Cube" exists in the scene
obj = bpy.data.objects.get("Cube")
if obj:
    obj.location.x += 2.0  # Move the object 2 units along the X-axis
5. Advanced Scripting Techniques
Creating a Loop to Generate Multiple Objects
You can use loops to automate repetitive tasks. For example, the following script creates 5 cubes in a row:
import bpy

# Clear existing objects
bpy.ops.object.select_all(action='SELECT')
bpy.ops.object.delete(use_global=False)

# Create 5 cubes in a row along the X-axis
for i in range(5):
    bpy.ops.mesh.primitive_cube_add(size=1, location=(i * 2, 0, 0))
Debugging Your Scripts
- Console Output: Use the Python console for quick testing. Ex:
print("This is a debug message") - Error Messages: Read the error messages in the system console or the Info panel to troubleshoot issues. Ex:
report({"WARNING"}, "Something isn't right") - Interactive Scripting: Use breakpoints or print statements to check variable values during execution.
6. Tips for Developing Blender Add-ons
Structuring Your Add-on
- Define the Add-on Info: Start your script with a bl_info dictionary to register your add-on.
- Register Classes: Use Blender’s registration functions to integrate your tool into the UI.
- User Interface: Create custom panels or menus by defining UI classes.
Example bl_info snippet:
bl_info = {
    "name": "My Custom Add-on",
    "author": "Your Name",
    "version": (1, 0),
    "blender": (2, 80, 0),
    "location": "View3D > Tool Shelf",
    "description": "A simple add-on example",
    "category": "Object",
}

import bpy

class HelloWorldOperator(bpy.types.Operator):
    bl_idname = "wm.hello_world"
    bl_label = "Hello World Operator"

    def execute(self, context):
        self.report({'INFO'}, "Hello, Blender!")
        return {'FINISHED'}

def register():
    bpy.utils.register_class(HelloWorldOperator)

def unregister():
    bpy.utils.unregister_class(HelloWorldOperator)

if __name__ == "__main__":
    register()
Save this file with a .py extension and install it through Blender’s Preferences > Add-ons panel.
7. Additional Resources
- Blender Documentation: The official Blender documentation is a comprehensive resource.
- Blender Python API: The bpy API reference is invaluable for understanding the available functions.
- Community Forums: Sites like Blender Artists and Stack Exchange can provide community support.
By following this tutorial, you should be able to start scripting in Blender with Python fairly easily. Remember that practice is key to becoming proficient with both Blender’s features and its Python API. Happy scripting!