Video is one of the heaviest types of media there is. It mixes audio and several images in sequence every second, demanding a lot of storage and, if your system doesn’t have the proper parts like a GPU, a lot of processing too.
But it doesn’t always have to be like that.
I read somewhere before that, if Youtube stored and served only raw uncompressed video, it’d consume more bandwidth than the entire rest of the web…. 100 times over. This is why video compression is not only important now but is nearly as old as digital video recording itself.
In this short tutorial I’ll teach you how to use a simple, free, open source program called “HandBrake” to compress your video in a few clicks, making it much smaller while keeping the quality.
HandBrake
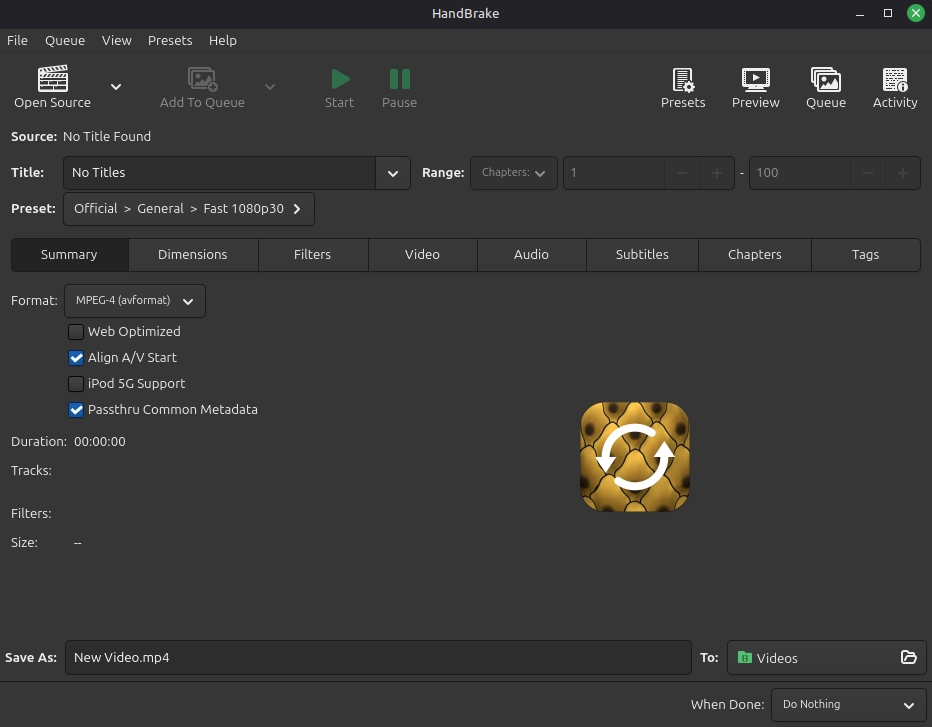
Handbrake is a free open source program, which works on Windows, Linux and MacOS. It has a very simple interface and is super easy to use.
First, grab your video file and drag it into Handbrake. Literally anywhere. You can also click “Open Source” and select if you wish.
Now, the most important part is within the “Video” tab.
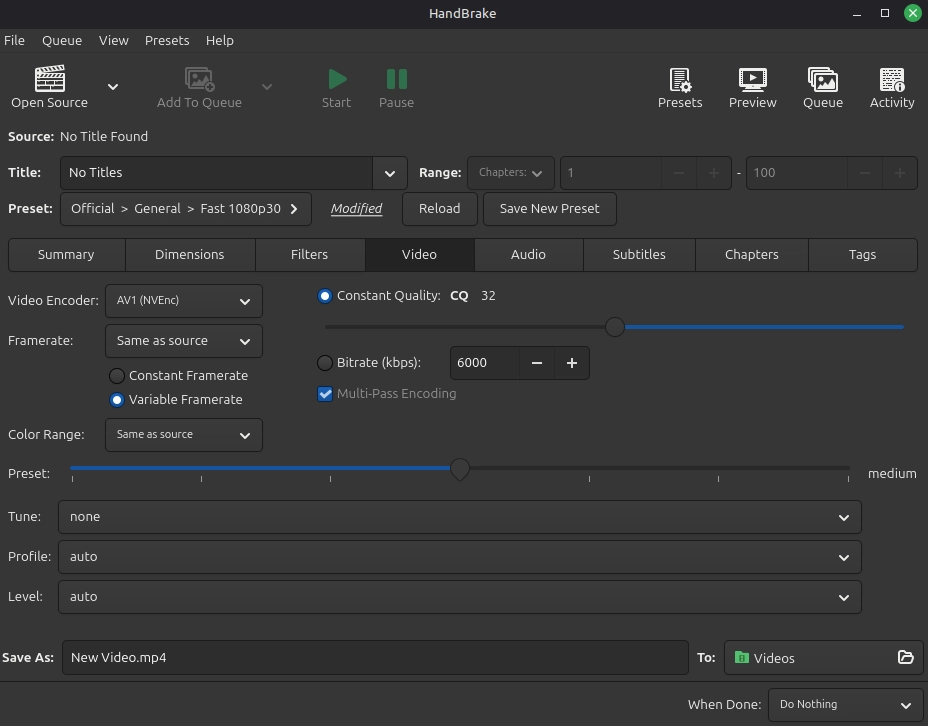
In this tab you will setup how your output will look like. For the average video, I’d recommend the above settings. Here’s why:
- AV1 Codec: It’s the best codec there is currently. Supported by every device, almost anything can load it. It has the best compression/quality ratio.
- NVenc: Nvidia’s encoder. This means I’ll be using my (Nvidia) GPU to encode, which is much faster than the CPU and has the same end result. Basically any GPU from 2022 forward can encode in av1, but if yours isn’t Nvidia, you might want to select another AV1 option.
- Frame Rate and Color Range: Set it as “Same as Source” so it’ll copy the original, avoiding issues.
- Constant Quality vs Bitrate: They’ll define how large the final result will be. Normally I’ll set the bitrate to half the original video’s, but if you don’t know or are unsure, you can choose Constant quality and move the setting to the middle.
- Preset: This means how much work your computer will put into trying to compress things. The slower, the better the compression and visual quality.
Now let’s move to audio.
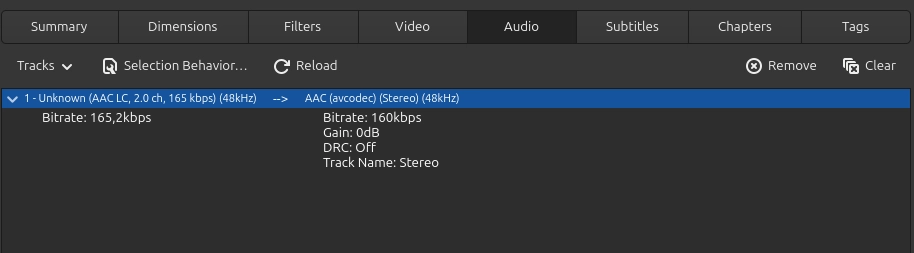
A single audio can be much heavier than 60 frames worth of images, but it also is very important for the final quality.
Double click the audio track, and where it says “bitrate” lower it to either 96kbps or 128kbps. This should be more than enough to keep quality almost identical, while consuming less space.
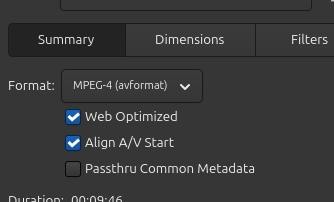
Now back to the Summary tab, there’s one final detail there that might be important: Web Optimized.
If you aren’t going to upload to a service like Youtube, Bluesky/Twitter or Tiktok, which automatically optimizes the video delivery, you might want to enable that option. As it says when you hover over: It will optimize the layout for a progressive download, meaning the user will be able to watch the video as its being loaded by the browser.
Finally, leave “Align A/V Start” enabled, to avoid audio desync.
If everything went well, the final video should have the same visual quality, same audio quality and even load better for slower servers/internets, all while consuming 10x less space!